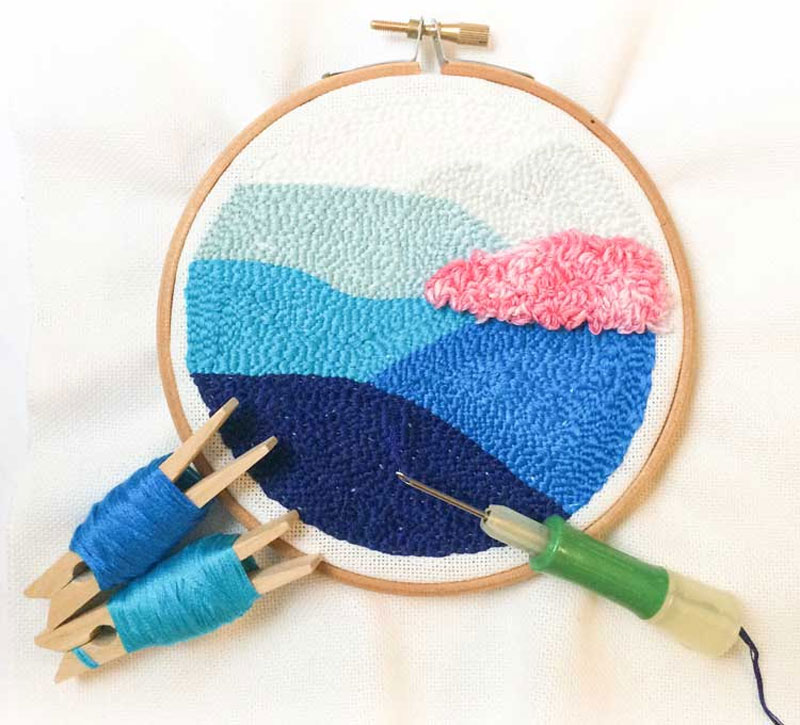
Have you considered giving punch needle stitching a try? Before you go in head first, you must know full information about it and some essential tips to get started. So basically, Punch needle embroidery is a fun and fast fiber art that anyone can learn. In punch needle, you will use a punch needle tool to punch yarn loops into the fabric to fill design areas with attractive colors. It seems like a painting with yarn. So if you want to try, keep reading the tips below for punch needle embroidery beginners.
Punch Needle Embroidery Tips
Punch needle is a craft technique applicable to all ages. Even kids are also able to pick up the basics with coaching. It is the fastest type of needlework and is also satisfying. If you wish to get started with punch needle embroidery, learn how to do a punch needle first.
Also, you can get started with a punch needle right away. The needed supplies are relatively costly and small. So you don’t need to invest a lot of money, time, or space to start a punch needle. And you can get started with various punch needle patterns.
After some experimentation and instruction with punch needle basics, you can start creating objects immediately. Here are some amazing tips to help you:
Use the correct fabric for your foundation
If you punch with rug yarn, then you will want to look for a monk’s fabric. Monks cloth is 100% cotton fabric with a sturdy yet flexible weave. Use monk’s cloth for your backing fiber when you are making bags, pillows, stuffed objects, or punch needle rugs.
Monks cloth is available in different weaves. You need a monk’s cloth with a steady weave for a punch needle. Select a monk cloth with almost 12 holes per inch for a punch needle. Be careful because most of the craft stores – like Joann – bear a type of monk’s cloth with a larger weave, generally 7 holes per inch. Also, the monk’s cloth has an open weave, which means your yarn will be grasped more tightly and may slip out.
If you are punching with a needle and embroidery floss, you will want to use fabric like weaver cloth for your foundation cloth. Weaver’s cloth is a poly-cotton blend with a weave and a heavier weight. Also, you can find it online and in the bottom-weight area of craft stores like Joann.
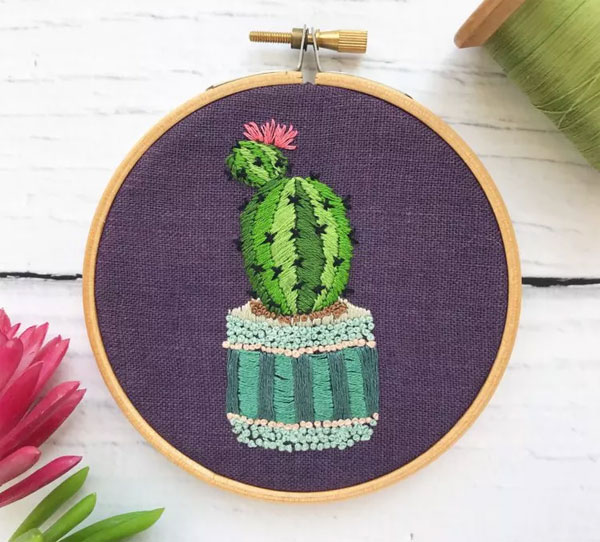
Also Read: 15+ Cactus Embroidery Patterns
Use the right-weight yarn
Use a yarn size that is thin enough to flow through the punch needle tool yet thick enough to stay in the foundation fabric holes. For use with the punch needle of any oxford, we recommend 3-ply rug yarn or bulky-weight knitting yarn. Also, you can use 3 or 4 strands of sock-weight yarn held together or even two strands of worsted-weight yarn held together.
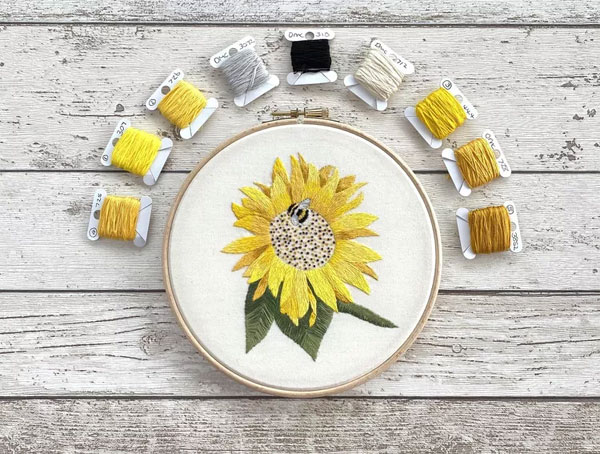
For using a tinier gauge needle such as ultra-punch, you can use 6 strands of embroidery floss, like DMC embroidery floss.
Use a proper frame to hold your fabric tight for punching
Generally, the Basic wooden embroidery hoops can’t hold the fabric tight for punch needle embroidery. With every stitch, your fabric will get looser, and the end is making the complete procedure really frustrating.
A few of the best frames are Q-snap PVC embroidery frames or gripper strip frames. Plus, if you would want to use a hoop, we recommend a plastic no-slip hoop like the clover or Morgan. Also, you can make a DIY carpet tack frame or use a basic gun to staple your backing fabric to a wooden frame.
Keep tight tension on your fabric
Always keep your fabric drum head tight (tight enough to bounce a coin on) so your needle can properly form stitches.
Keep loose tension on the yarn
This is a slight tip, but it can make a very big difference. So make sure that you have enough slack on the yarn ball end. Otherwise, any tension you have could drag your stitches out.
Pay attention to the direction of your needle when stitching
The open end of the needle faces the stitch direction. In other words, the opening of your needle always faces the direction that you are punching. Lead with the open side of the needle.
For even stitches and loops, punch down at a regular depth
Punch the needle down into the fabric until the wooden section of the handle is just touching the fabric. The needle length makes the depth of loops. And if you punch down to the exact place on each twitch, the loops will be constant pile height at the end.
Don’t lift the needlepoint off the surface of the fabric between stitches
Rather, barely drag the punch needle tip across the surface. If you pick up too far, then your loops will be uneven – or even bad, your loops will come out.
Start with the outlines
Use smaller stitches in the outline than the fill stitches. Also, try for 4 stitches per inch to fill in the shapes and 6 stitches per inch for the outlines.
Fixing mistakes
If you don’t like an extension, you can pull your stitches back out. Then go slow and be attentive so you don’t cut out too much.
In order to fix any lingering punch made in your monk’s cloth, run your fingernail over your fabric to close up the holes in the weaves. Then, try it one more time!
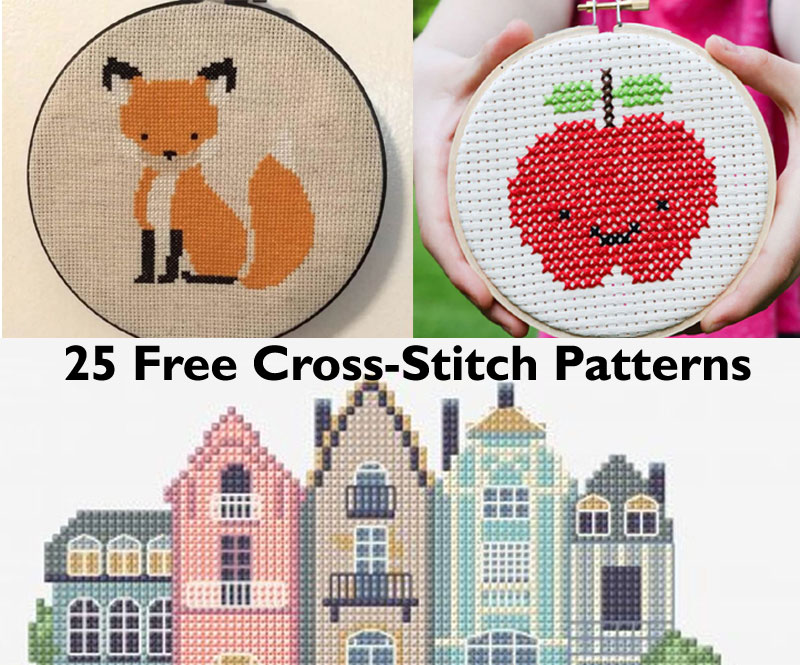
Also Read: 25 Free Cross-Stitch Patterns for Stitchers of all Skills Levels
Final Verdict
The punch needle is the trend in embroidery, which is very easy to learn. Also, it gives a quick result and creates elegant textile art. In detail above, we explained the basic tips you need to know and follow before starting the punch needle process. So keep reading our top ten tips to get started with a punch needle right away without investing a lot of time, space, or money.